One of the new features in version 1.3.0 is to support ‘self-service’ customization. In the past it was possible to customize the old native GUI but it was a lot of work so it was only offered to users who committed to a certain number of licenses. With the new web-based GUI, the customization becomes so easy that I think it makes sense to open it up and allow everyone to do it.
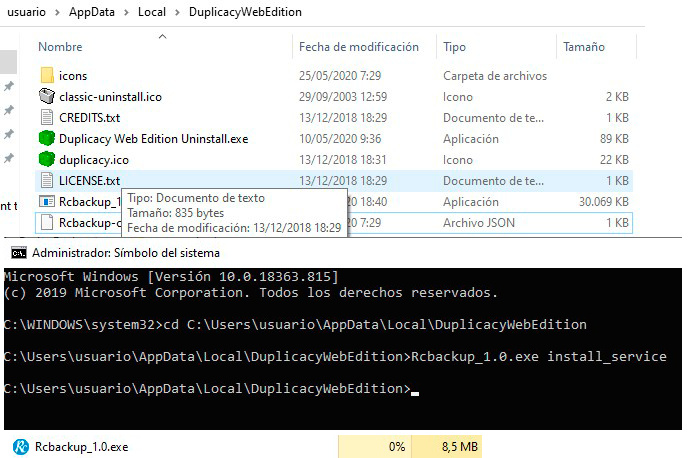
For the customization to work, you’ll first need to rename the web GUI executable. As an example I would rename it to s3backup_1.0. Then create a file named s3backup-config.json in the same directory as the executable like this:
{
    "product_version": "1.0",
    "product_name": "S3Backup",
    "product_full_name": "S3Backup",
    "product_website": "https://s3backup.com/product",
    "company_name": "S3Backup LLC",
    "company_website": "https://s3backup.com",
    "service_description": "An S3 backup tool based on Lock-Free Deduplication",
    "configuration_directory": "s3backup",
    "configuration_file": "s3backup.json",
    "log_file": "s3backup.log",
    "password_variable": "S3BACKUP_PASS",
    "storages": "disk s3"
}
Here is the explanation of each key:
- product_version: the version displayed on the dashboard page
- product_name: the short name of the customized software
- product_full_name: the full name; may contain spaces
- product_website: the url to the product website
- company_name: the name of your company
- company_website: the url to the company website
- service_description: the description for the Windows service
-
configuration_directory: the directory where the configuration file is stored; defaults to
duplicacy-web; note that a leading.will be added -
configuration_file: the name of the configuration file; defaults to
duplicacy.json -
log_file: the name of the main log file; defaults to
duplicacy_web.log - password_variable: the environment variable that holds the master password; defaults to `DWE_PASSWORD’
-
storages: the storage backends that will be supported and shown (options are
disk sftp s3 b2 gcd azure gdrive onedrive swift webdav dropbox)
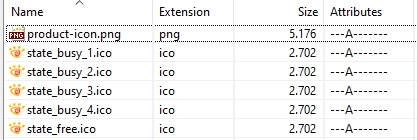
Now you need to create a directory named icons under the same directory as the executable, and make the following icons:
- product-icon.png: the program icon shown in the top left corner on every page
- state_free.png or state_free.ico: the icon shown in the system tray icon (or the menu bar) when there are no active schedules
- state_busy_1.png or state_busy_1.ico: the icon to show when there are active schedules
-
state_busy_2.png or state_busy_2.ico: for animation (to spin the icon) when there are running schedules; can be the identical to
state_busy_1in which case there is no animation -
state_busy_3.png or state_busy_3.ico: similar to
state_busy_2 -
state_busy_4.png or state_busy_4.ico: similar to
state_busy_3
Note that for Windows the icon files state_* should have the .ico extension; on other platforms .png should be used.
That is it – now run the renamed executable you’ll see the customized version up and running!


